
When the air turns cool and crisp it’s time to start looking for the understated beauty of this season’s abundance; twigs that bend just so, lush foraged greenery, seed pods, and dried blooms that remind us of warmer days. For us flower folk, it’s wreath season. We head in from the field to our work tables and create something special with our harvest for our doors and those of our customers.
Creating a wreath that has beauty and structural integrity takes a mix of intention, dexterity, and a bit of thoughtful planning. We have some advice on how to go about designing something you love. Read on for our favorite design principles and a step-by-step video tutorial on how to create your own custom evergreen wreath.
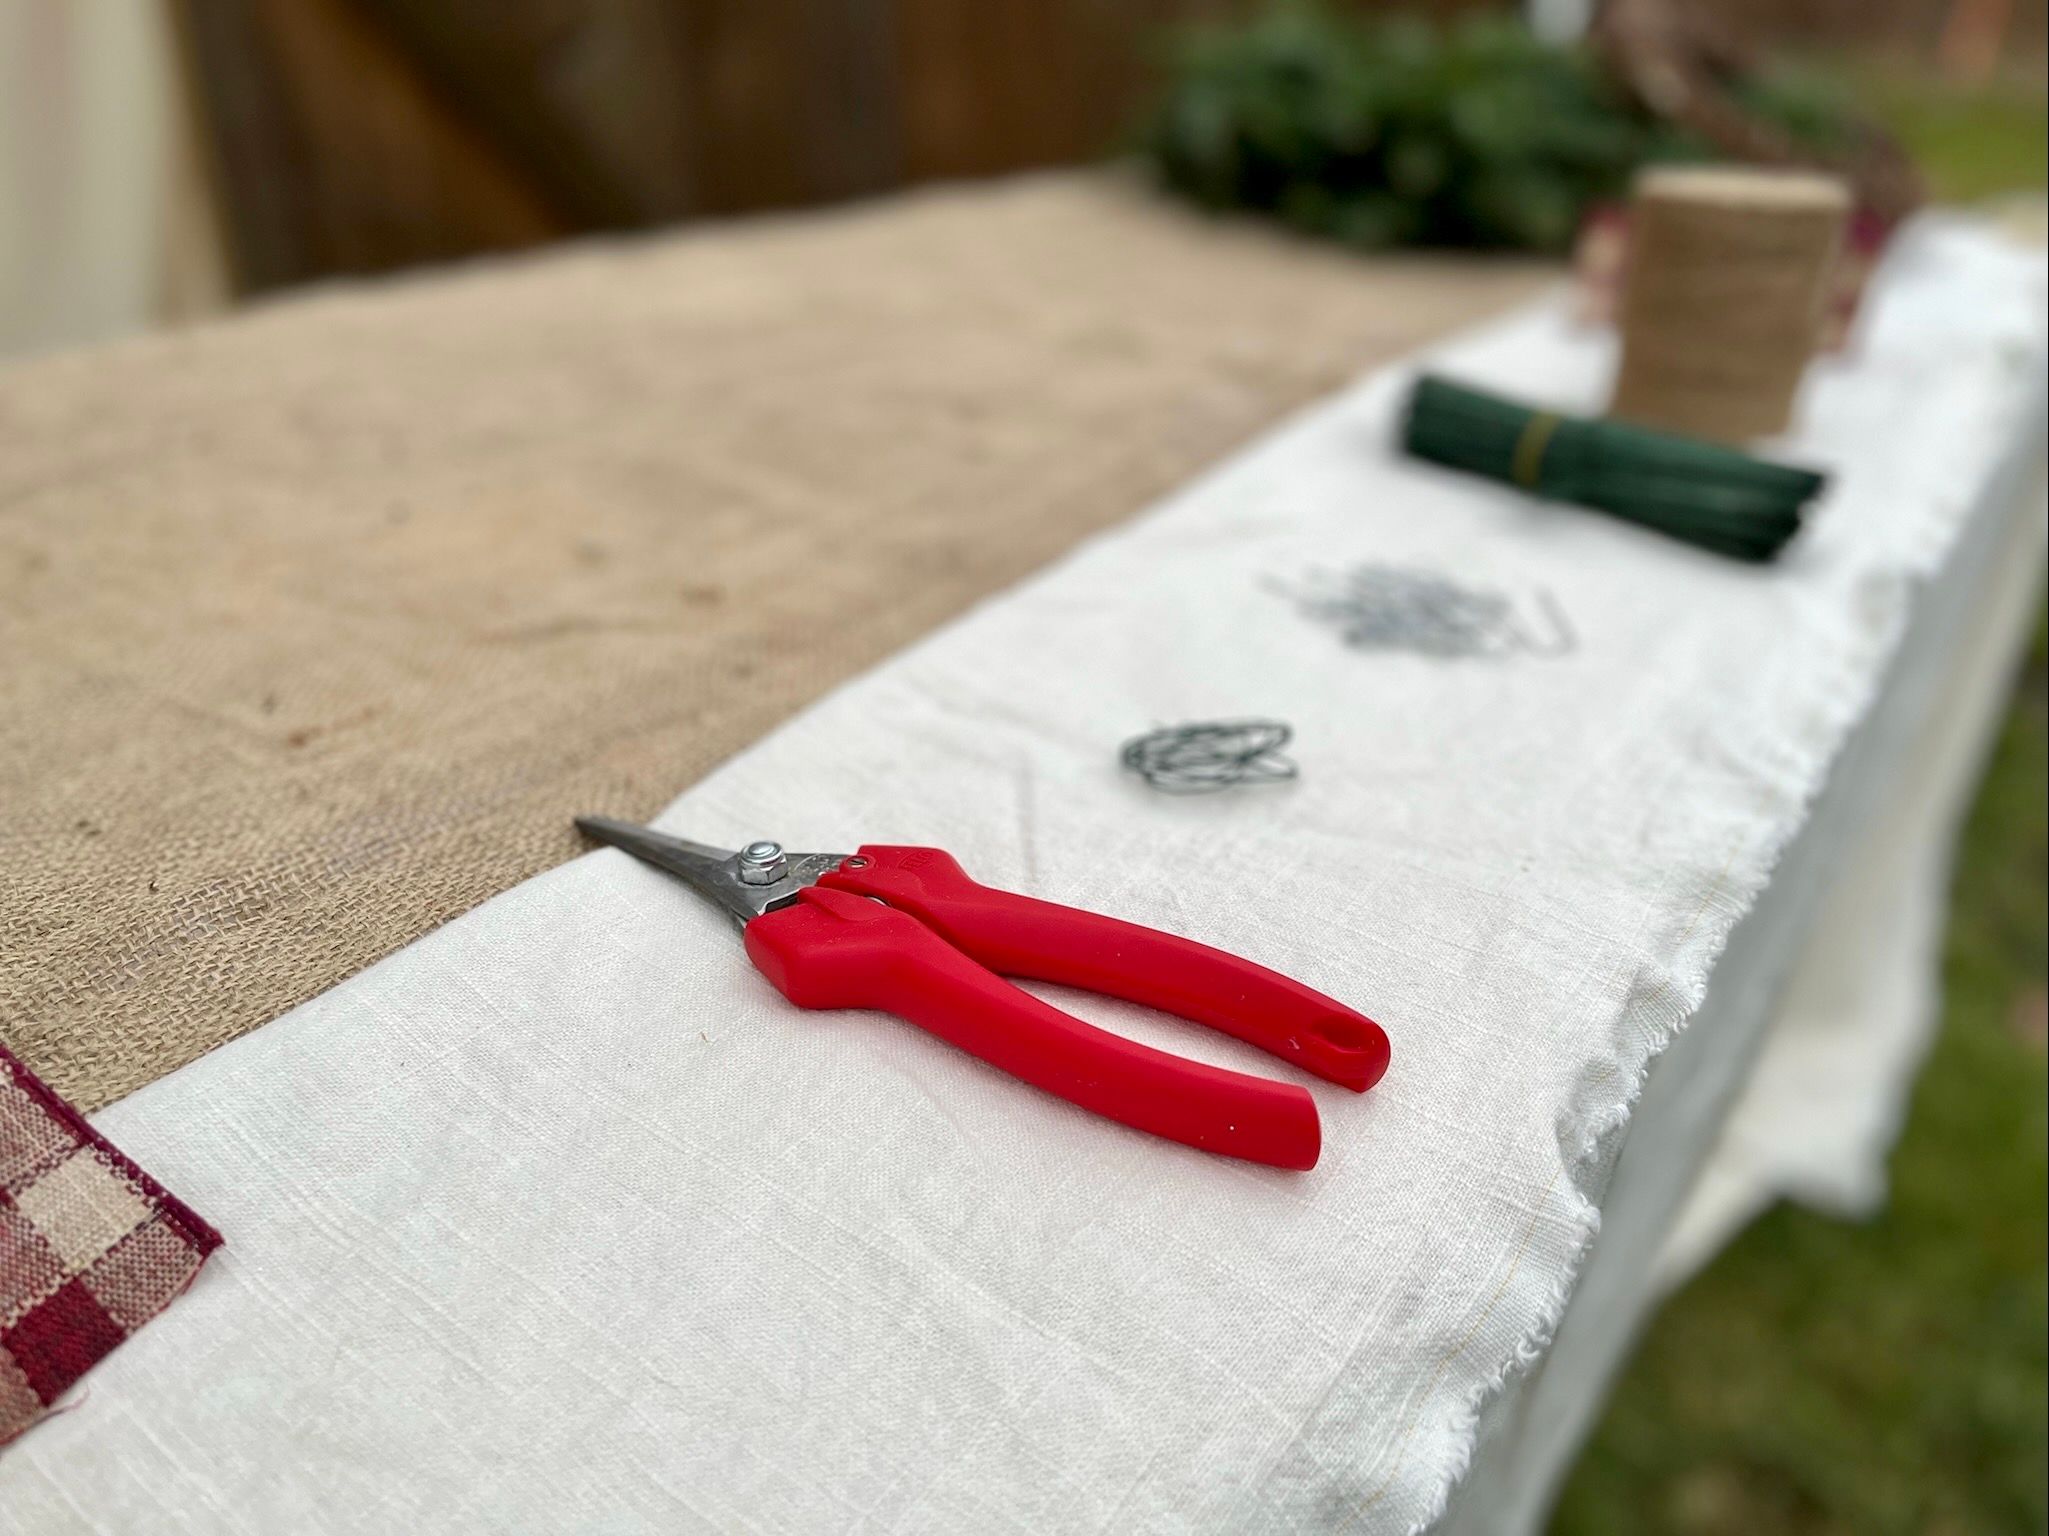
Tools & Materials
- Gardening scissors or pruning shears
- Florist wire
- Pliers
- Metal hoop, grapevine wreath, or vine to create a base
- Fresh greenery (see details below)
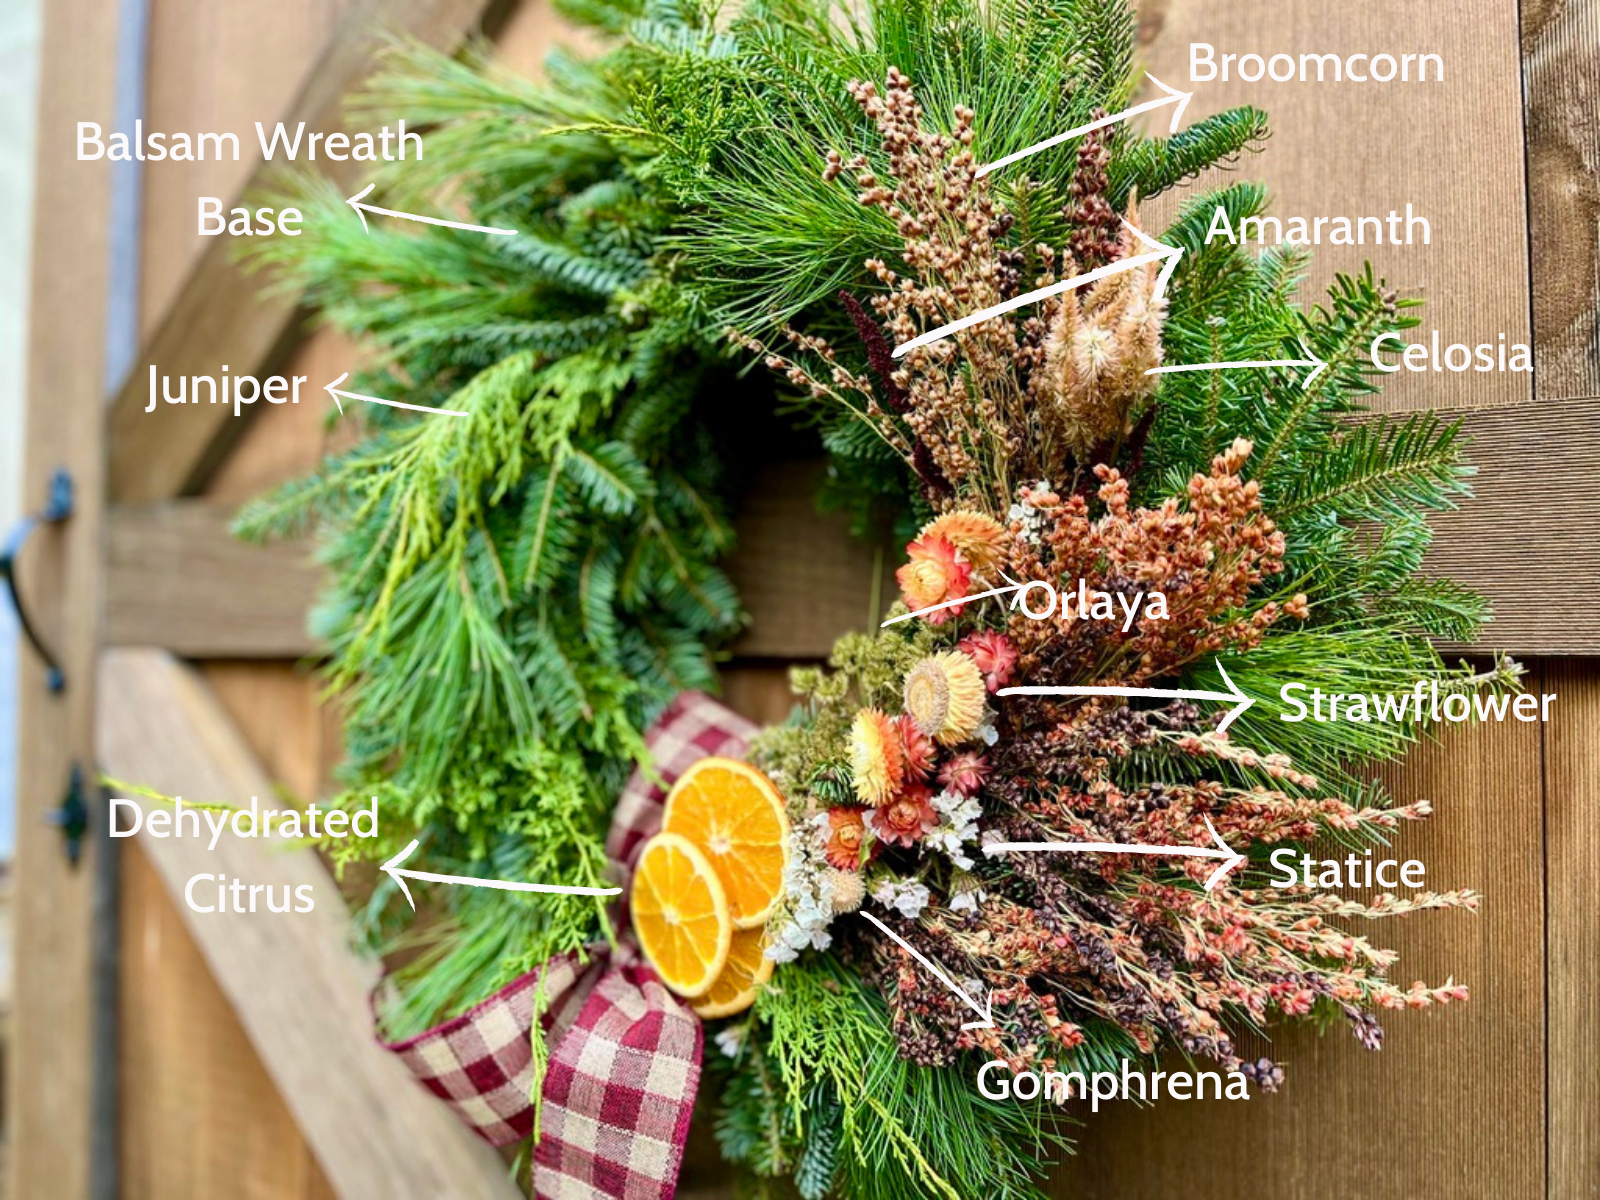
The Base
For evergreen wreaths, you can choose from a variety of bases. If you’re looking for something readymade, a metal hoop is a great option and can be found at your local craft store. If you’re in the mood to forage, kudzu vine, grapevine, willow, or any vine that will bend into a circle will do. Use your vine to form a circle and tuck the end of the vine into itself. Voila! You have a wreath base and can start creating with your other materials.
Fresh Greenery
Evergreen wreaths are just that; a wreath base of mostly or all fresh evergreen stems. Depending on your location, there are a variety of evergreens to choose from. Evergreens for wreath making include spruce, pine, juniper, boxwood, cedar, holly, and magnolia (just to name a few!). Explore your yard and the local area! Just be sure to forage responsibly.
You can go as simple or elaborate as you’d like here. Some prefer one type of green for a uniform look. Others might want to put a variety of shades and textures into their creations.
Steps & Tips:
1. Bulky at the back!
If you’re using a variety of textures, place your bulkier greens towards the back so the more textural elements can really shine.
2. Mix it up.
Consider incorporating other textural elements like Bunny Tails Grass, pinecones, dried ferns, or anything else that strikes you!
3. Snip, snip!
Trim your materials into shorter pieces. You can vary stem lengths for a more organic look.
4. Wiring time.
Using floral wire, bundle a little of each type of plant into a mini bouquet (they remind us of little boutonnieres) and wrap the wire around the bottom a few times.
5. Repeat!
Continue this process until you have enough mini bouquets to go around your wreath base.
6. Let’s build.
To assemble, tightly wire the stems of your mini bouquets to the base. Then overlap your next mini bouquet with the first, wire that one, and keep on going until you’ve completed the circle. Now you have your own evergreen wreath!
7. Embellish away!
If you’re happy with your evergreen wreath as is, you can skip this step. If you’d like to add embellishments to it, then consider adding dried floral product, dehydrated citrus, or pinecones and berries to your wreath for some added flair.
Decide whether you would like to run your embellishments all the way around your wreath, or in a demi-wreath style (only partially covering the surface area). If you elect for a demi-wreath style, you’ll want to decide whether you prefer a symmetrical look or an asymmetrical style.
Pro-tip: if you’re displaying your wreaths in pairs, an asymmetrical look that is mirrored between the two wreaths can be a fun way to balance and complete your demi wreath look.
Wire each of these items individually, or follow the same mini-bouquet steps as you did in step 4 above, attaching each item or bouquet where you feel it rests well.
Working in layers is best, and using the same principles of weight is appropriate here also (i.e., bulkier items at the back, and lighter-weight or more delicate items toward the front.
8. Wrap it up!
Now that you’ve finished assembling, you can choose to add some ribbon to your wreath. A simple knot with a hanging ribbon can look simple and elegant, or you can go with a more substantial bow or a simple wrap for a more traditional look.
9. Is it done?
If you’re not sure whether your wreath is ready for display or needs a little more primping, find a wall with nice sunlight either in your home or outside and hang your wreath there. Leave it there for a few hours or days, and when you walk by it notice if any blank spaces or places that need adjusting emerge. If so, take it down and make your adjustments. Then, you’re ready to display your creation!
Categories
About the Author
Rooted Farmers
The Rooted Farmers Team is happy to bring you content that we hope provides value. The topics covered range from farming and running a hub, to sales, marketing, and all things related to building your business, to the unique challenges faced by growers. Our philosophy in sharing this content is that we are always in a position to learn; embracing this mentality will only help us to grow, both within our businesses and personally. If there is a topic that you feel would be of value to the Rooted Farmers community, we encourage you to share your ideas with us by sending an email to: reachout@rootedfarmers.com